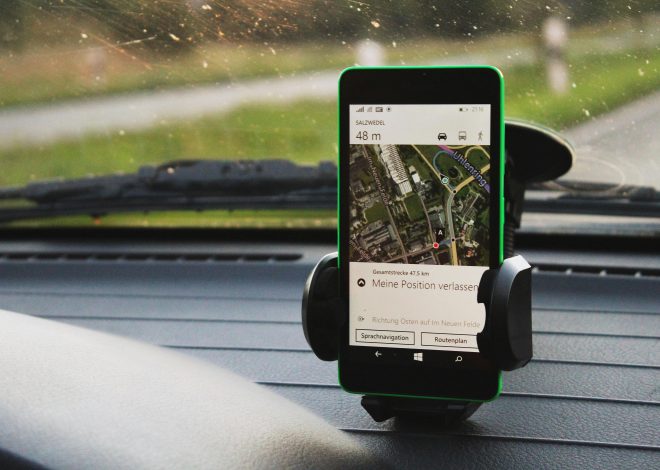

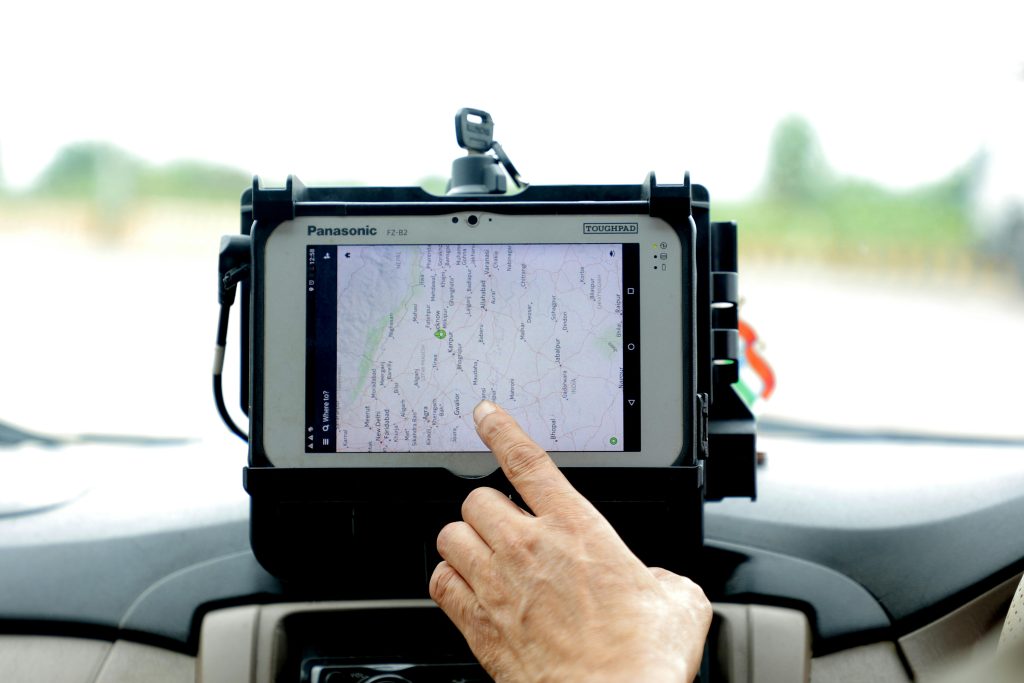
How Do I Install a GPS Tracker on My Fleet Vehicles?
Introduction
In today’s logistics and transport landscape, GPS tracking is no longer a luxury—it’s a necessity. Whether you’re managing a fleet of delivery vans, service trucks, or company cars, installing GPS trackers helps you monitor vehicle location, reduce fuel costs, improve driver accountability, and enhance customer service.
But how do you actually install a GPS tracker on fleet vehicles? Is it complicated? Do you need a technician?
In this comprehensive guide, we’ll walk you through the types of GPS trackers, installation options, and step-by-step instructions to help you set up your fleet tracking system correctly and efficiently.
Why Install GPS Trackers on Fleet Vehicles?
Before jumping into the how, it’s worth understanding the benefits of fleet GPS tracking:
- Real-time vehicle location monitoring
- Route optimisation and fuel efficiency
- Driver behaviour monitoring (speeding, idling, harsh braking)
- Theft prevention and asset recovery
- Maintenance scheduling and vehicle diagnostics
- Improved compliance with regulatory requirements
Installing a GPS tracker is a small investment that pays off in operational transparency and long-term cost savings.
Types of GPS Trackers for Fleet Vehicles
Not all trackers are the same. The installation method depends on the type of GPS tracker you choose.

1. Plug-and-Play Trackers (OBD-II)
- Connects to: OBD-II port (standard in most vehicles made after 1996)
- Installation: Simple, no tools required
- Ideal for: Light commercial vehicles, short-term deployments
2. Hardwired GPS Trackers
- Connects to: Vehicle’s power and ignition wires
- Installation: Requires basic electrical work
- Ideal for: Long-term fleet use, theft prevention, or vehicles without OBD-II ports
3. Battery-Powered Trackers
- Connects to: Nothing—operates independently
- Installation: Mount with adhesive, magnet, or screws
- Ideal for: Trailers, equipment, or unpowered assets
Tools and Materials You May Need
For hardwired GPS tracker installation, prepare the following:
- Wire cutters/strippers
- Electrical tape or heat-shrink tubing
- Zip ties
- Multimeter (optional for wire identification)
- Wiring diagram for the vehicle (helpful but not mandatory)
For plug-and-play units, you typically only need access to the OBD-II port.
Step-by-Step Guide: Installing a GPS Tracker
Let’s walk through the installation process based on the tracker type.
Option 1: Installing a Plug-and-Play GPS Tracker (OBD-II)
- Locate the OBD-II Port
- Usually found under the dashboard near the steering wheel.
- Check your vehicle’s manual if you’re unsure.
- Insert the Tracker
- Plug the device into the port until it clicks.
- It should power on automatically using the vehicle’s battery.
- Test the Device
- Start the vehicle and confirm that the LED lights are active.
- Use the tracker provider’s mobile or web app to ensure signal connectivity.
- Secure It
- Optional: use an OBD-II extension cable to hide the device behind the dashboard and secure with zip ties.
Option 2: Installing a Hardwired GPS Tracker

- Choose a Hidden, Secure Location
- Under the dash or behind interior panels
- Avoid areas exposed to heat or water
- Connect to Power (Red Wire)
- Use a 12V or 24V constant power source (e.g., car battery or fuse box)
- Use a multimeter to verify voltage
- Connect Ground (Black Wire)
- Attach to the vehicle chassis or an existing ground wire
- Connect Ignition (Optional – Yellow Wire)
- Allows tracking of engine on/off events
- Splice into the ignition wire in the fuse box or ignition harness
- Secure and Test
- Wrap all connections with electrical tape
- Mount the device securely and conceal wires
- Start the vehicle and check device status through your GPS tracking platform
Option 3: Installing a Battery-Powered Tracker
- Charge the Tracker (if needed)
- Some units require initial charging
- Place the Tracker on the Asset
- Choose a flat, secure surface under the chassis or within the cabin
- Use magnets, adhesive mounts, or brackets
- Activate and Sync with Software
- Follow the device’s activation instructions
- Confirm connection through the provider’s dashboard
Post-Installation Checklist
Once installed, complete the following:

- Add the vehicle to your GPS tracking dashboard
- Label each tracker with the corresponding vehicle or asset ID
- Test GPS signal strength and tracking accuracy
- Enable alerts (speeding, geofencing, idle time)
- Schedule regular device health checks
Common Installation Mistakes to Avoid
- Installing in exposed or high-temperature areas
- Failing to secure the device properly (can cause data loss or damage)
- Using incorrect wire connections (can drain battery or cause short circuit)
- Skipping testing and calibration
Tip: If you’re unsure, many GPS tracking providers offer professional installation services or certified installers in your area.
Conclusion
Installing GPS trackers on your fleet vehicles is a crucial step toward improving operational visibility, safety, and efficiency. Whether you choose plug-and-play simplicity or hardwired permanence, the right setup ensures you get accurate, reliable data to manage your fleet smarter.
At [Your Company Name or GPS Provider], we help businesses across Australia implement tracking solutions that scale. If you’re ready to take control of your fleet, now is the time to install and connect your tracking system.