
Best Practices for Night Driving on Rural Roads
Introduction
Driving through rural landscapes after sunset can be an evocative experience—rolling hills fade into silhouette, stars sparkle overhead, and the familiar hum of urban traffic is replaced by the whisper of your engine and the distant call of wildlife. Yet this tranquility masks real hazards: unlit, winding roads; unexpected animal crossings; and minimal roadside assistance. A moment’s inattention or an unprepared vehicle can turn a peaceful drive into a perilous ordeal. In this comprehensive guide, we’ll cover everything you need to know—vehicle preparation, headlight optimization, defensive techniques, fatigue management, and emergency readiness—to help you navigate rural nights safely and confidently.
1. Vehicle Preparation: Laying the Foundation
1.1 Headlight Maintenance and Upgrades
- Clean and restore lenses
- Use a dedicated headlight restoration kit or a DIY mix of baking soda and vinegar to remove oxidation.
- Wipe headlights with a microfiber cloth to prevent scratches.
- Aim and alignment
- Park 7.5 m from a wall on level ground; measure beam height, then adjust screws so light cutoff is 100 mm below headlight center.
- Regularly verify alignment—bumpy rural roads can jar fixtures out of position.
- Bulb selection
- Stock halogens: Affordable but dimmer.
- Upgraded halogens: 50% brighter, moderate cost.
- LED/HID kits: Dramatically increased luminosity, longer lifespan; ensure legal compliance and proper ballast installation.
1.2 Comprehensive Lighting Check
- Taillights and brake lights: Ask a friend to press the brakes while you observe intensity.
- Turn signals and hazard flashers: Confirm uniform blink rate (60–120 bpm).
- Reverse lights: Essential for illuminating dark driveways and alerting pedestrians.
- Auxiliary lights: Fog lamps—use only in rain, mist, or dust to avoid blinding other drivers.
1.3 Tires and Brakes
- Tire tread and pressure
- Minimum tread: 3 mm for wet-road traction; consider winter or all-terrain tires for gravel sections.
- Check pressure when cold; inspect sidewalls for cuts or bulges.
- Brake system
- Audible indicators: Squeals or grinding imply worn pads.
- Pedal feel: Spongy or low travel suggests air or fluid issues—bleed or replace fluid as needed.
2. Route Planning and Timing: Anticipating the Unknown
2.1 Mapping and Coverage
- Pre-load offline maps: Google Maps or dedicated GPS units with pre-downloaded rural coverage.
- Note blackspots: Identify stretches with no cell signal; plan check-ins or carry a satellite communicator if venturing off-grid.

2.2 Timing Your Drive
- Avoid dawn and dusk: Wildlife such as deer and kangaroos are most active during crepuscular hours.
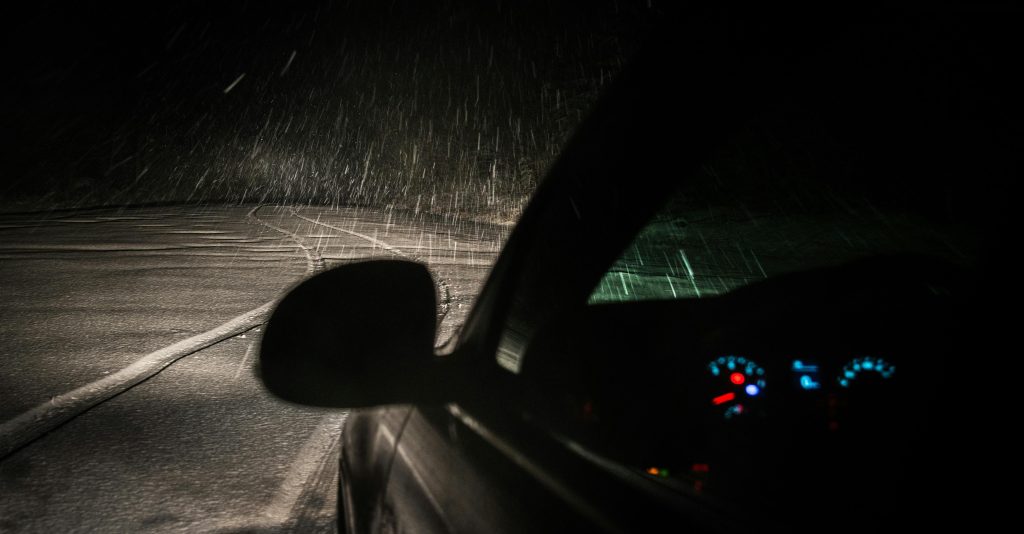
- Weather considerations: Check forecasts—fog banks often form after midnight in low-lying areas; rain can wash gravel onto the roadway.
3. Maximizing Visibility: Seeing and Being Seen
3.1 High-Beam Best Practices
- Engage when safe: No oncoming vehicles within 300 m, and no cars within 150 m ahead.
- Automatic high-beams: If your vehicle supports adaptive beams, understand how to override in rural settings to prevent “hunting” in heavy vegetation.
3.2 Scanning Techniques
- 90/10 Rule: Spend 90% of your focus ahead of the vehicle, 10% on the dashboard.
- Peripheral sweeps: Every 5–10 seconds, glance 10–15° off-road to detect eye reflection or movement.
- Fixed-stare avoidance: Avoid “tunnel vision” by consciously shifting gaze and using mirror checks every 10 seconds.
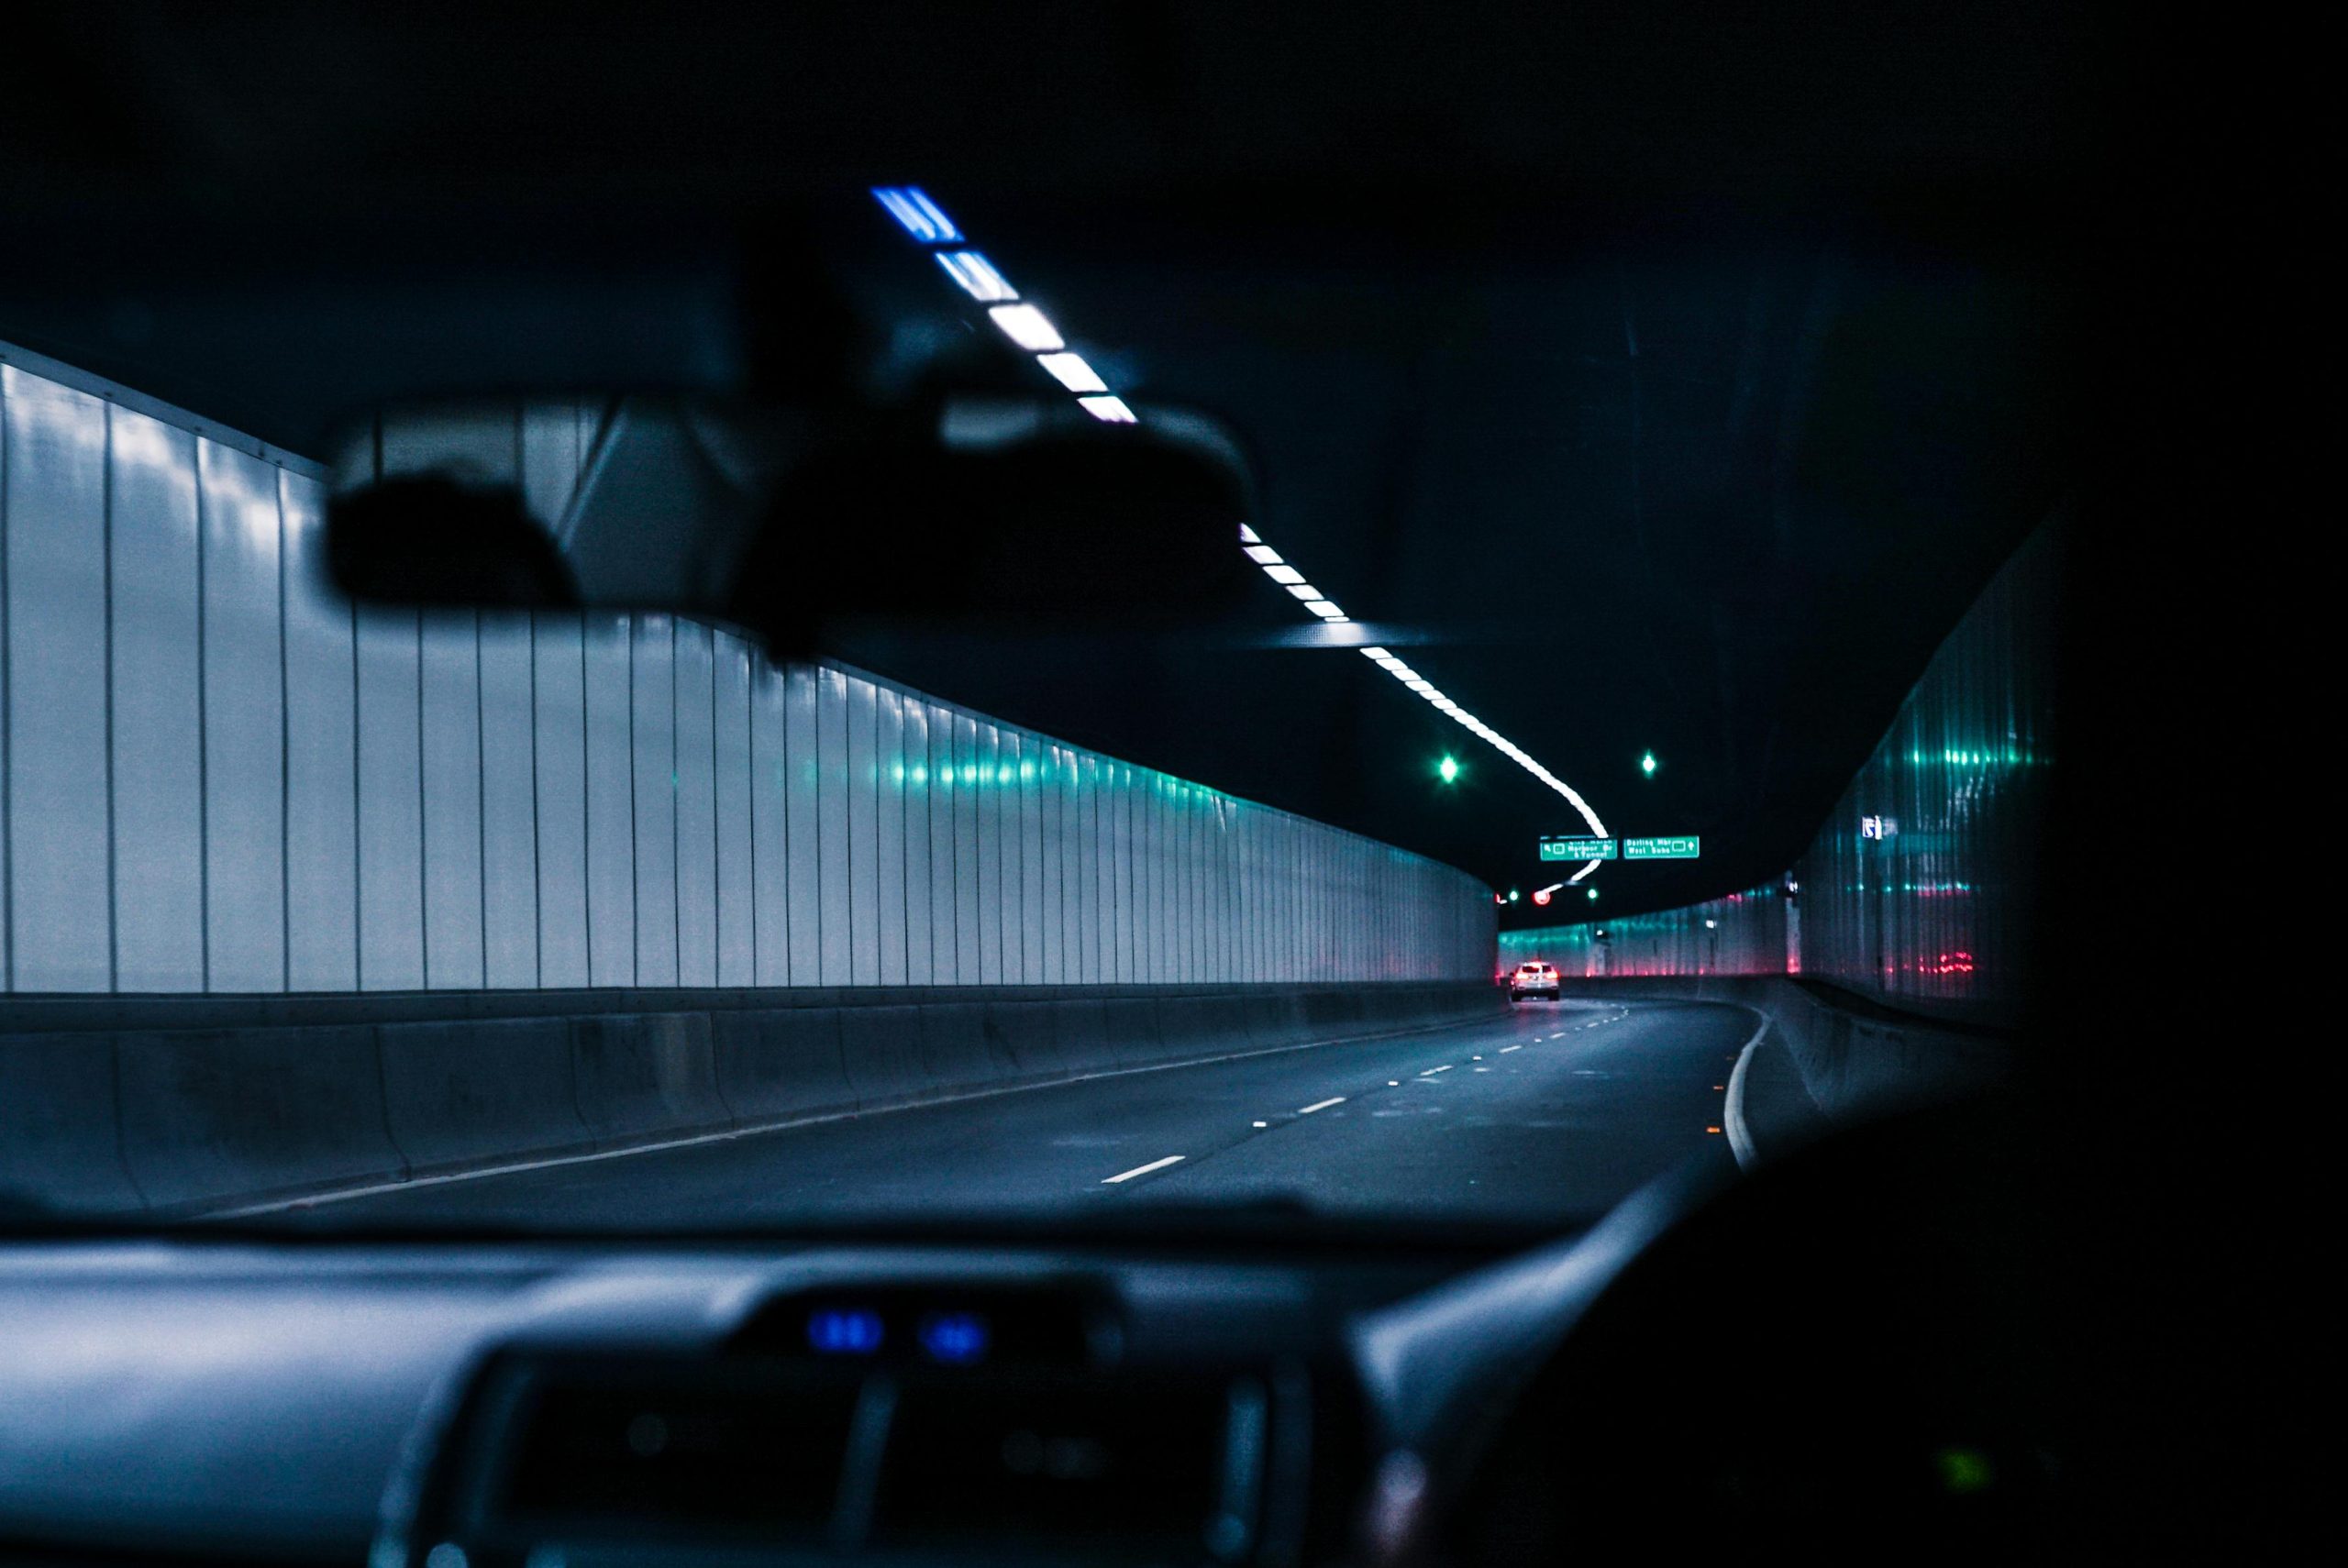
3.3 Mirror and Instrument Setup
- Rearview mirror: Use the night/dim setting to reduce glare; ensure side mirrors are properly angled to catch approaching lights.
- Instrument brightness: Dim dash lights to comfortable levels—too bright can reduce night vision, too dim can obscure gauges.
4. Defensive Driving: Proactive Risk Management
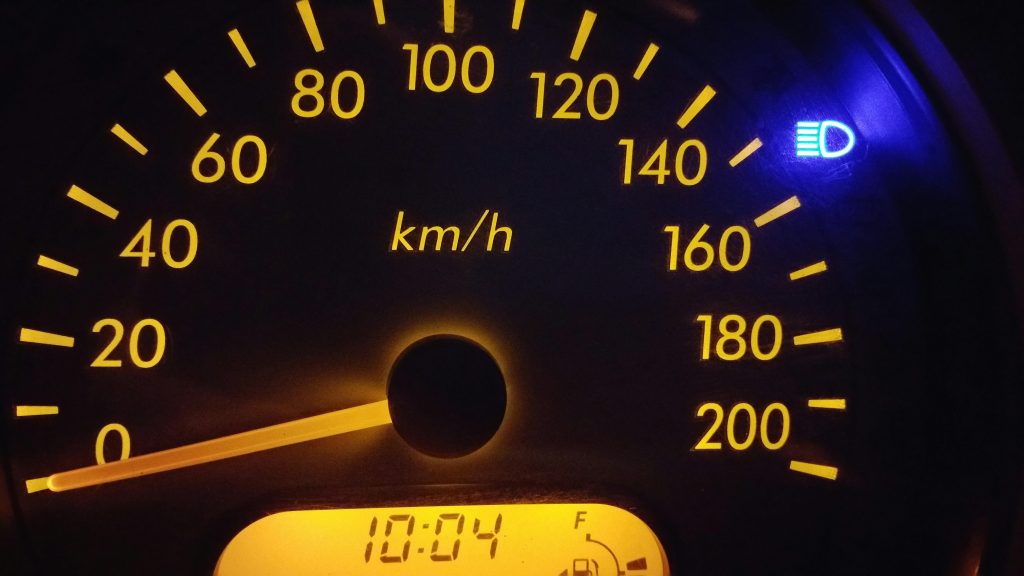
4.1 Speed and Stopping Distance
- Visible distance rule: Your low beams typically illuminate 100 – 150 m; ensure your speed allows you to stop within that range.
- Speed adjustment table: Road TypeUsual SpeedRecommended Night SpeedPaved two-lane100 km/h80 km/hGravel road80 km/h50–60 km/hWinding mountain60 km/h40 km/h
4.2 Following Distance
- 4–5 seconds rule: Use a stationary roadside marker; when the vehicle ahead passes it, count seconds until you pass it.
- Adjust for grip: Increase distance on wet, muddy, or loose surfaces.
4.3 Anticipating Hazards
- Wildlife crossings
- Watch for “deer crossing” signs; scan roadside vegetation for reflective eyes.
- If you encounter an animal, brake firmly without swerving sharply—loss of control is often more dangerous than collision.
- Slow-moving vehicles
- Farm equipment and animal herds may lack lights—approach with extreme caution, honk gently, and be prepared to stop.
5. Managing Fatigue and Distractions
5.1 Recognizing Fatigue
- Warning signs: Frequent yawning, drifting between lanes, missing exit signs.
- Countermeasures:
- Caffeine: A cup of coffee or energy drink provides 30–60 minutes of alertness.
- Nap breaks: A 20-minute nap can restore cognitive function.
5.2 Minimizing In-Car Distractions
- Phone use: Activate “Do Not Disturb” and set auto-reply.
- Audio management: Keep music at moderate volume; podcasts or audiobooks should not demand excessive concentration.
5.3 Driver Rotation and Breaks
- On multi-driver trips, switch every 2 hours or 200 km.
- Plan stops at well-lit rest areas or 24-hour service stations.
6. Emergency Preparedness: When Things Go Wrong
6.1 Building a Robust Emergency Kit
- Illumination: High-quality LED flashlight, headlamp, and extra batteries.
- Visibility aids: Reflective vests, triangle reflectors (place at 50 m, 100 m, 150 m behind).
- Survival essentials: Warm blankets, high-energy snacks, bottled water.
- Repair tools: Tire repair kit, portable air compressor, jumper cables, basic tool set.
- Communication: Satellite phone or personal locator beacon in areas with no cell service.
6.2 Breakdown Protocol
- Pull off safely: As far from the travel lane as possible, ideally onto gravel or a shoulder.
- Warn others: Turn on hazards, place reflectors, and don a reflective vest.
- Stay with your vehicle: It provides shelter and increases your visibility to rescuers.
- Signal for help: Use your phone if possible; otherwise, attract attention with flashlight signals or the horn intermittently.

7. Advanced Tips and Technology Aids
7.1 Driver-Assist Features
- Night-vision cameras: Some luxury vehicles offer infrared cameras to detect pedestrians or wildlife beyond headlight range.
- Adaptive cruise control with emergency braking: Maintains safe distances even in low-light conditions.
7.2 Mobile Apps and Devices
- Wildlife detection apps: Warn you of recent animal sightings in your area.
- Rural traffic alerts: Community-driven platforms (e.g., Waze) can flag slow vehicles or hazards.
- Portable dashcams: Record incidents—useful for insurance claims or understanding near-miss scenarios.
Conclusion
Night driving on rural roads demands heightened awareness, meticulous preparation, and an arsenal of safety strategies. By ensuring your vehicle’s lights and tires are in top condition, planning your route to avoid wildlife peak hours, employing advanced scanning and defensive techniques, managing fatigue, and packing a comprehensive emergency kit, you can significantly reduce risk and enhance confidence behind the wheel. Remember: on rural roads, your most valuable tool is time—allow yourself the space and patience to react to the unexpected, and every night drive can become a safe, even serene, journey.